Table of Contents
*This post may contain affiliate links. As an Amazon Associate we earn from qualifying purchases.
You’re past pretty boxes and over gift bags. You want to level up your gift wrap game. Gift baskets are creative, but you aren’t sure how to wrap a gift basket without handles. In fact, you don’t even know where to start. A gift basket isn’t like a box. It doesn’t have four corners and straight lines. Gift baskets have different shapes and sizes. And how do they make those things stand up?
Wrapping any gift basket seems like quite a challenge. Figuring out how to wrap a gift basket without handles seems downright impossible. Every basket is a different size and shape, posing a challenge to even the most experienced gift wrapper. But, with a few simple tools and a little bit of planning, you’ll be able to create exciting and personalized gift baskets in no time.
Why Give A Gift Basket Instead of A Box
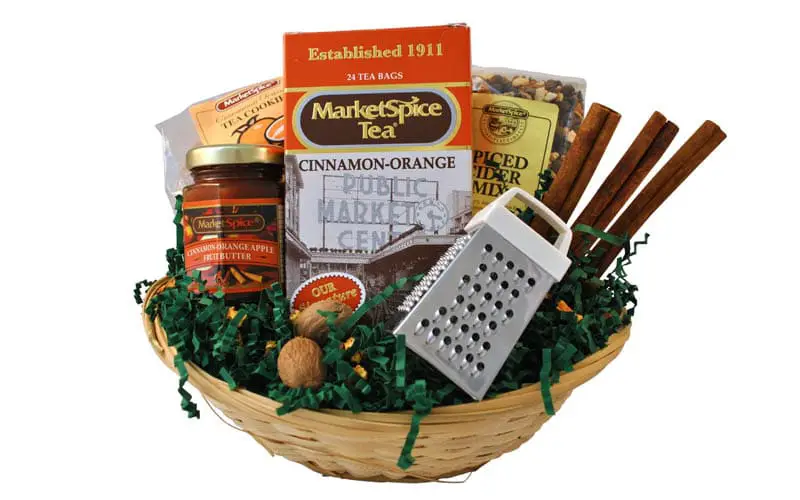
image via Spirited Gifts
Giving a gift in a box is easy. Boxes are easy to wrap and generally easy to carry. But, a gift basket lets your creative side shine. If you learn how to wrap a gift basket without handles, you can create personalized, themed gifts that no typical box can hold.
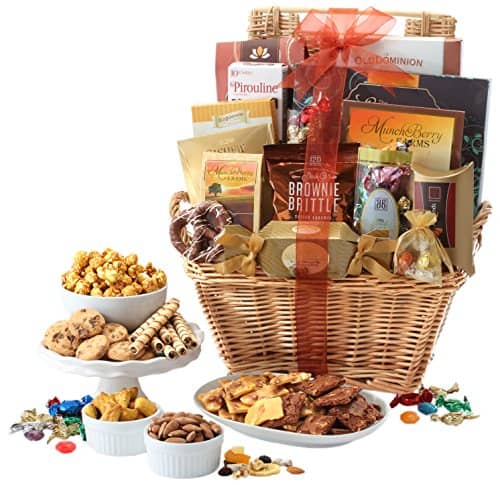
Gift baskets make great auction items. Whether you are auctioning off the actual basket or using the basket as part of the display, gift baskets are an exciting way to showcase the auction item.
They also make great party centerpieces. For example, you could create gift baskets of books for all the tables then donate the baskets after the party.
Pick the Right Container
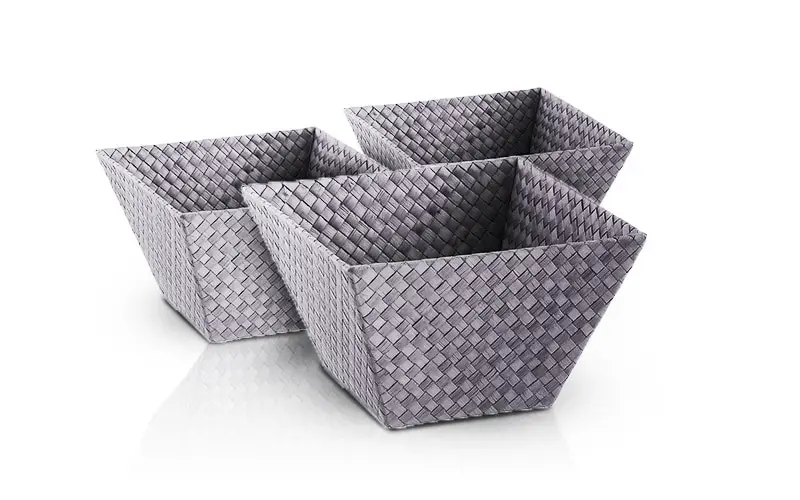
image via The Container Store
Before you select a gift basket, take a few moments to consider what will work with the items you are gifting. Learning the basics of how to wrap a gift basket without handles starts with choosing the right basket. While you can go crazy and pick almost any kind of container from an oversized mug to a picnic basket, there are a few common things you should look for in a gift basket.
First, the basket should have sturdy sides. You don’t want a basket that might buckle under the weight of something like tools or bottles. It also needs a strong bottom. However, you can always reinforce the bottom of your gift basket with cardboard.
Also, make sure that the basket can sit flat once you fill it. You want to make sure that the basket won’t wobble or fall over. That is especially important if you’re packing the basket for an auction and it’s going to be sitting on a table for a while. Lastly, make sure the top of your container is wide enough to get everything in while you pack it and for the recipient to get everything out.
Skip the wicker basket
[amazon box=”B01C4G9XEQ”]
While there’s nothing wrong with a wicker basket, most people don’t really need one. Consider other basket options that can serve more than one purpose to the gift recipient.
For example, if you’re gifting something for a baby shower, use a baby bathtub or a diaper bag as your container. If your recipient is really into tools, use a toolbox. A high school graduate is probably going to need a lot of things for college. You could fill a plastic shower tote with shower things and other supplies. Or, give them a backpack full of useful items. You can even do this for young children, using a sand bucket as the container and filling it with fun toys.
Packing Your Container
While packing a gift basket isn’t as easy as wrapping a box, it can be a lot more fun. Learning how to wrap a gift basket without handles gives you the opportunity to showcase your creative skills.
But, before you start, you’ll want to think about what you’re packing up and assemble your supplies. You won’t need every supply listed here for every gift basket, but it’s a good idea to have these things on hand for your gift basket packing needs.
Supply List
[amazon box=”B00Q5HJNEQ,B004W5HCJ6,B00A6H3OAK” grid=”3″]
To wrap a gift basket without handles (or any basket), you’ll need tape. Plain old invisible tape will work just fine. You could use double-sided tape or even tape dots if you really want to conceal the tape. If you’re worried about the gift basket falling apart, consider shipping or packing tape instead.
You’ll also need scissors to trim things like ribbon and excess wrap. You should also have pipe cleaners to seal the top of the gift wrap. If you don’t have pipe cleaners, twist ties will also work. Or, put a rubber band around your wrist before you start gathering. When you have everything together, slip the rubber band off your wrist and onto the present to secure it until you can get to the bow.
You should also have some kind of filler for the basket. This “stuff” is what helps support the gifts and helps keep things in place. It can also be used to raise smaller gifts so that they don’t get lost. The filler can be paper shreds, wadded up tissue paper, or even (if you’re old school) the funny pages. You want to use something that isn’t too solid and can help cushion and support the gift items.
Optional Supplies
[amazon box=”B000UJ0Z10,B001689UU6,” grid=”2″]
Optional supplies include styrofoam and bamboo skewers. Mounting small items on styrofoam is a great way to create depth in your basket and make it look interesting. Fasten them to a bamboo skewer with a tape dot (or even regular tape), then stick the skewer in some styrofoam. Make sure to anchor the styrofoam to the basket with tape.
Make sure you have some cardboard on hand. While not a necessary item, you might decide after packing your basket that you want to reinforce the bottom with cardboard. And, don’t forget the bow or ribbons. Not only do they make the gift pretty, but they also help conceal the pipe cleaner at the top.
Keep it steady!
Any gift basket you create will probably have large and heavy items mixed in with small and fragile ones. While you may be worried that you can’t put them all in the same gift basket, you can mix differently sized and weighted items successfully. The key is to properly pack the basket by evenly distributing the weight in the container.
These instructions are general. To determine how to wrap a gift basket without handles, experiment with your basket and your items a few times to see what works best before wrapping it up.
Heavy items first
Start with large or heavy items. Depending on the container, you should place them in either the middle or the back of the container. The advantage to placing them in the middle is it will distribute weight more evenly. However, you may not be able to put smaller items behind it without propping them up on skewers. And, this arrangement may not work if you’re displaying the basket on a table. Placing heavy items in the back allows you to put smaller and more delicate items in the front of the basket (away from the heavy ones). But, you do run the risk that the basket will tip because the heaviest weight is all on one side.
Once you’ve figured out the best way to arrange the large and heavy items, you can arrange the rest of the basket any way you choose. And, since there are no rules, you can have things hanging off the side for an interesting detail, group items by theme, or even tell a story with your basket. You can even choose to hide some things underneath for a fun surprise when the recipient opens the basket. Once you know how to wrap a gift basket without handles, the only thing limiting you is your imagination.
What to Use
There are no rules about what you have to wrap the basket in. However, each wrap has advantages and disadvantages. Choosing the right material will help you determine how to wrap a gift basket without handles with the least amount of fuss.
Cellophane
[amazon box=”B01M02ASVX”]
Most gift baskets use cellophane. It’s easy to trim with scissors, molds to pretty much any shape, and is great for displays since you can see through it. Of course, you can get cellophane with a pattern or a color. The disadvantage to cellophane (besides the noise) is that if you have items with sharp objects, the cellophane can easily tear.
Tulle
[amazon box=”B01NAU9OD5″]
Tulle is like cellophane’s cousin. It’s also easy to work with, trims easily, and molds to almost any shape. However, unlike cellophane, it’s a little less see through. While tulle isn’t opaque, it generally isn’t clear. While tulle doesn’t rip as easily as cellophane, it is still somewhat delicate and will snag or rip if caught on a sharp edge. It also may not seal as easily with tape.
Try a cool scarf
[amazon box=”B07G4HGF83″]
For something really unique, consider a fun scarf or blanket. That makes the wrapping paper part of the gift and very eco-friendly. Like cellophane and tulle, a scarf will mold easily to any shape. However, unlike the others, you can’t trim it so you will have to get the right sized scarf, and a scarf isn’t necessarily easy to work with. You can tie the top together, but it’s going to flop down, making it difficult to attach a bow or other decorations. And, while it’s stronger than tulle or cellophane, a scarf can still rip.
How to Wrap a Gift Basket Without Handles
Now that you have all of your gift items and your basket, and you’ve figured out how to arrange everything, it’s time to get wrapping. The biggest tip for figuring out how to wrap a gift basket without handles is to have fun. Don’t be afraid to experiment and rearrange your basket until it’s just right.
Start Strong
[amazon box=”B01LKBXSVK”]
If you need to reinforce the bottom of your basket, place it on a piece of cardboard. Trace the shape of your container onto the cardboard. Make sure the cardboard tracing is a few inches larger than the basket. Cut the shape out of the cardboard. Then using tape (or even wax), secure the cardboard to some tissue paper or wrapping paper. Trim the edges, so it looks pretty. Place the basket on the cardboard, and continue wrapping.
Wrapping Time
[amazon box=”B07919HFL5″]
Take the container and place it in the middle of your chosen wrapping paper. If you’re using cellophane, tulle, or wrapping paper, do a practice run to see how much wrap you’ll need. Then cut off an extra six inches, just in case.
Grab all four sides of the wrapper (not the corners) and carefully bring them up to the top of the gift. Using one hand, grab the sides at the top of the basket and hold them together. With your other hand, spread out the wrapper, so all sides of the gift basket are covered. It might take some adjusting and even a few tries to get it right.
Once you’re satisfied with everything, tie the top of your wrapper with the pipe cleaner. Pull up on the leftover at the top to make everything tight but don’t overdo it. You don’t want it too tight; otherwise, it might rip. Arrange the excess wrap at the top however you want and trim if necessary. If you have any parts on the side that stick out, you can secure them with some extra tape.
If you have a very large basket or can’t get one piece to work, do everything twice. Do it once from left to right and then again from front to back.
The Final Touches
[amazon box=”B000W5R6UA,B00I3O9SR6,” grid=”2″]
Tie a pretty bow around the top of the basket (where the pipe cleaner is). Or tie a bunch of ribbons around it and let them flow down the top of the basket. Attach the card with some twine in the same area. Or, you can use strong tape and attach it to the wrap somewhere in the front near the base.
Wrapping It All Up
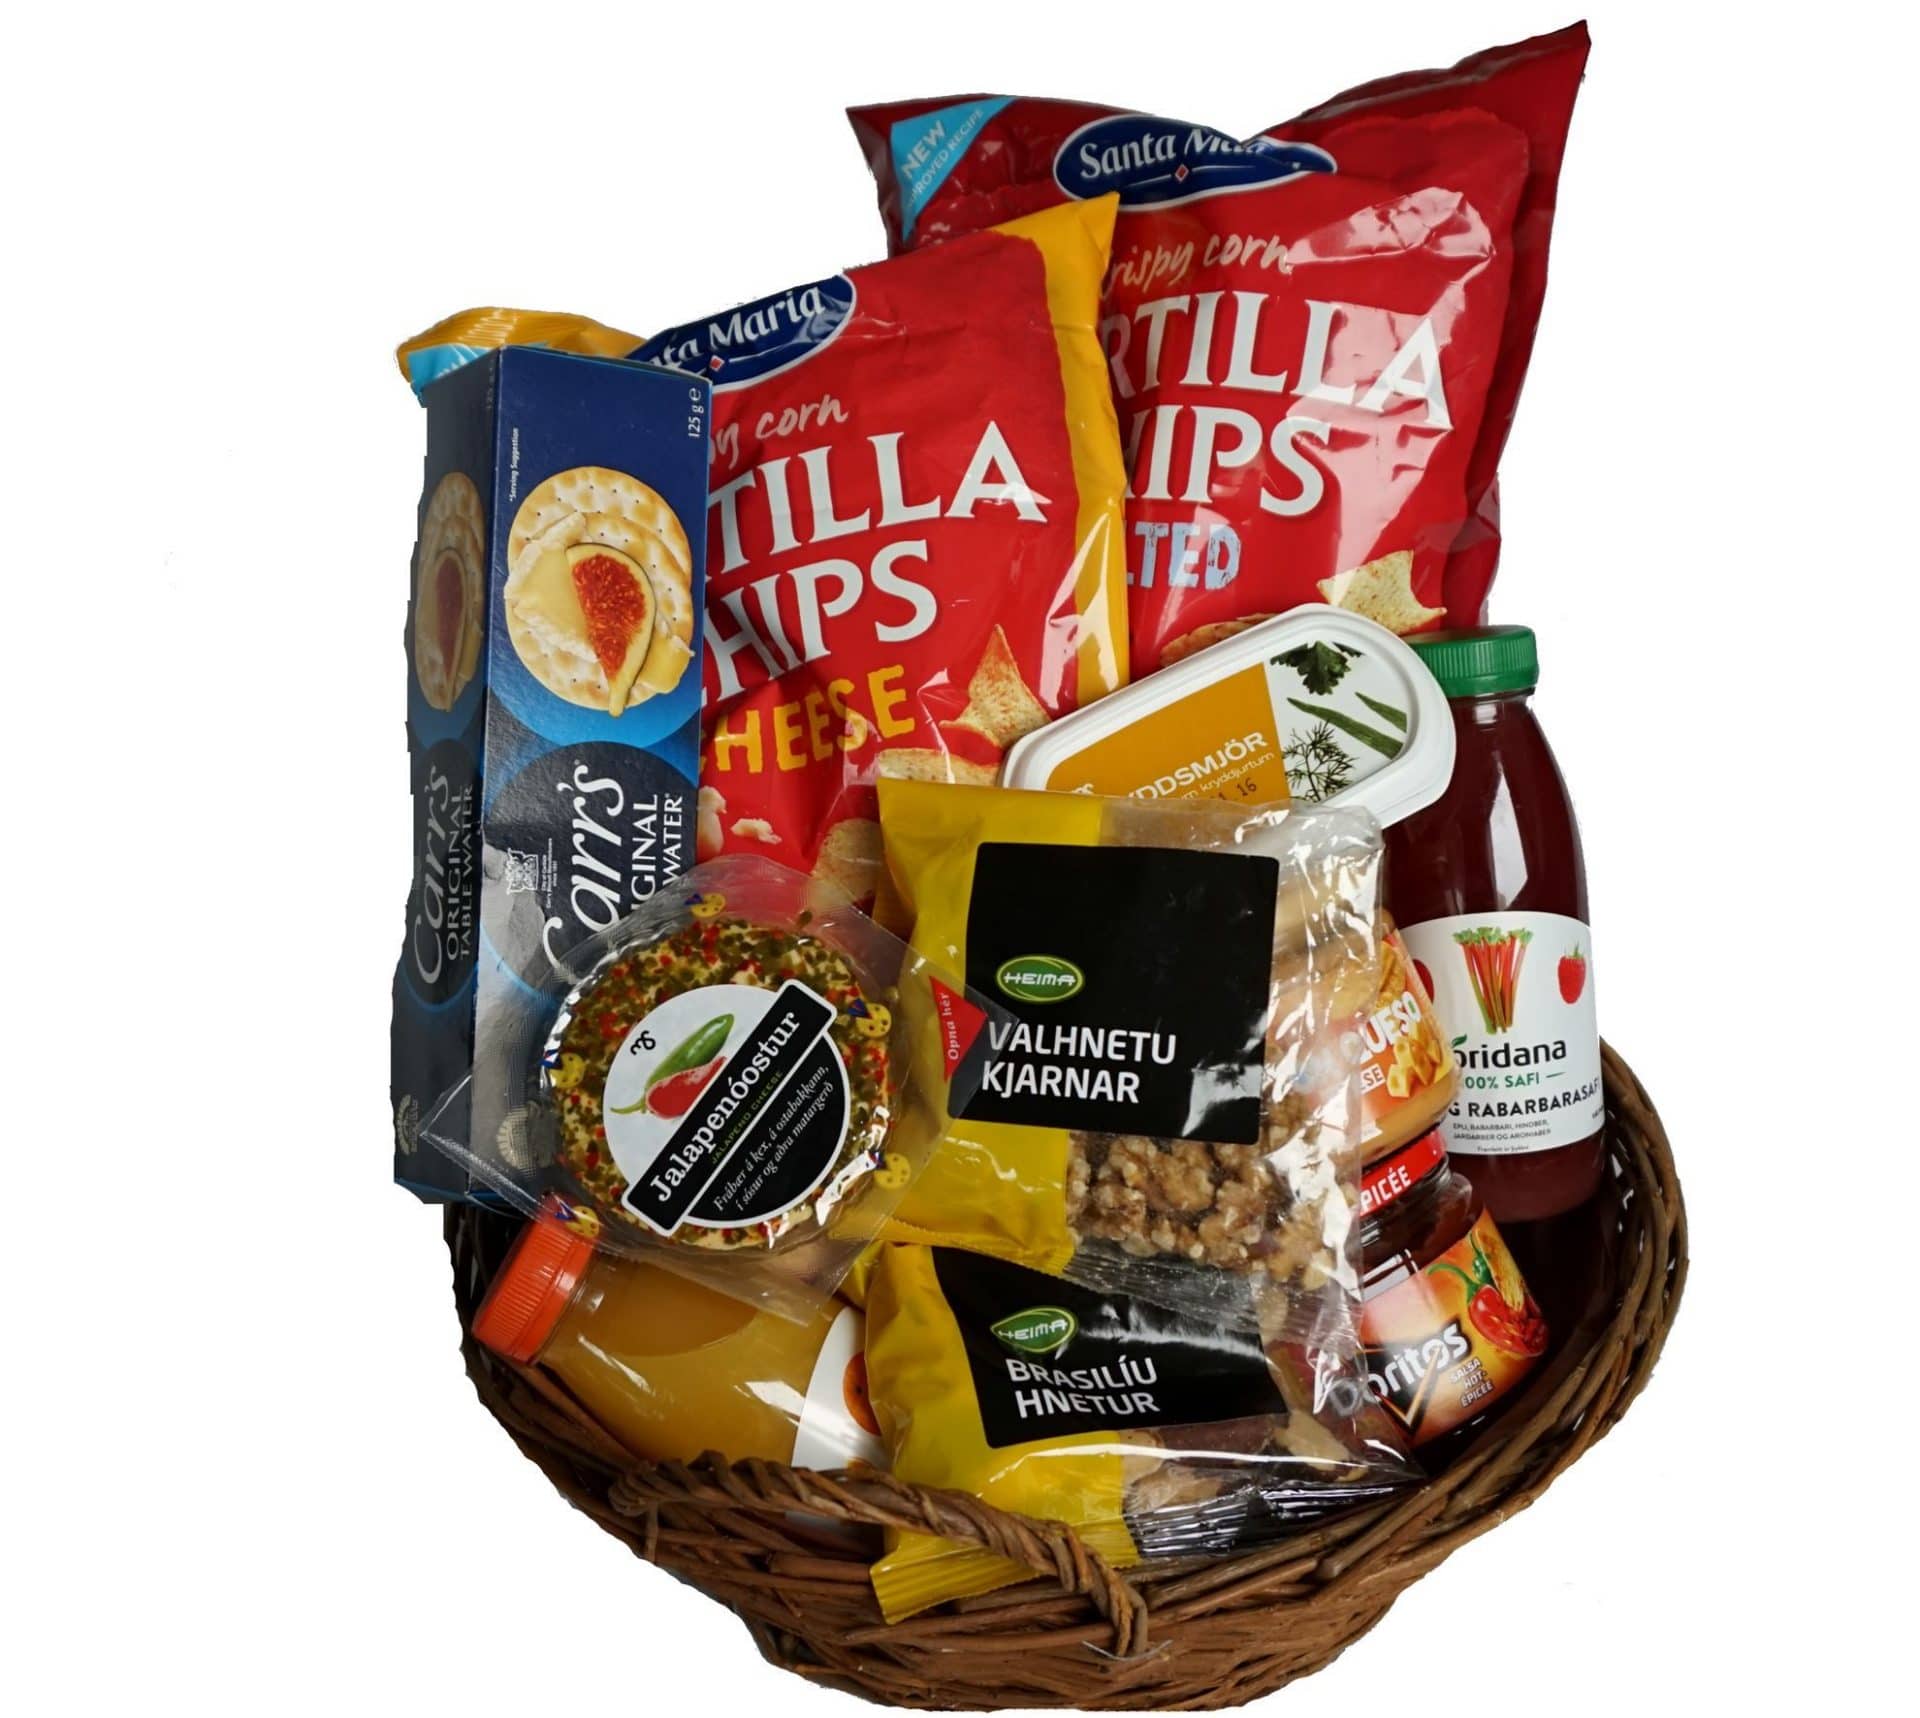
image via I Husi Bloma
Now that you know how to wrap a gift basket without handles, it’s time to get gifting. Pick out some awesome containers and start gifting the most creatively wrapped gifts you’ve ever created. The only limit here is your imagination. Before you know it, you’ll be a regular baskateer!
Still a little unsure? We’ve got you covered. Here’s a great video that explains the whole process step by step.


